Setup
Maxun MCP Server lets you connect any MCP-compatible AI client (Claude Desktop, Cursor, Windsurf, Cline, etc.) to your Maxun robots — so you can run extractions, check results, and manage robots through natural language.
There are two variants depending on how you use Maxun:
| Maxun Cloud | Self-Hosted (OSS) | |
|---|---|---|
| Setup | API key + URL only | Build step required |
| Auth | x-api-key header | Environment variable |
| Server URL | https://app.maxun.dev/api/mcp | Your local backend |
Maxun Cloud
No build step needed. Connect directly to the cloud API with your Maxun API key.
Prerequisites
- A Maxun Cloud account at app.maxun.dev
- An MCP-compatible client (Claude Desktop, Cursor, Windsurf, Cline, etc.)
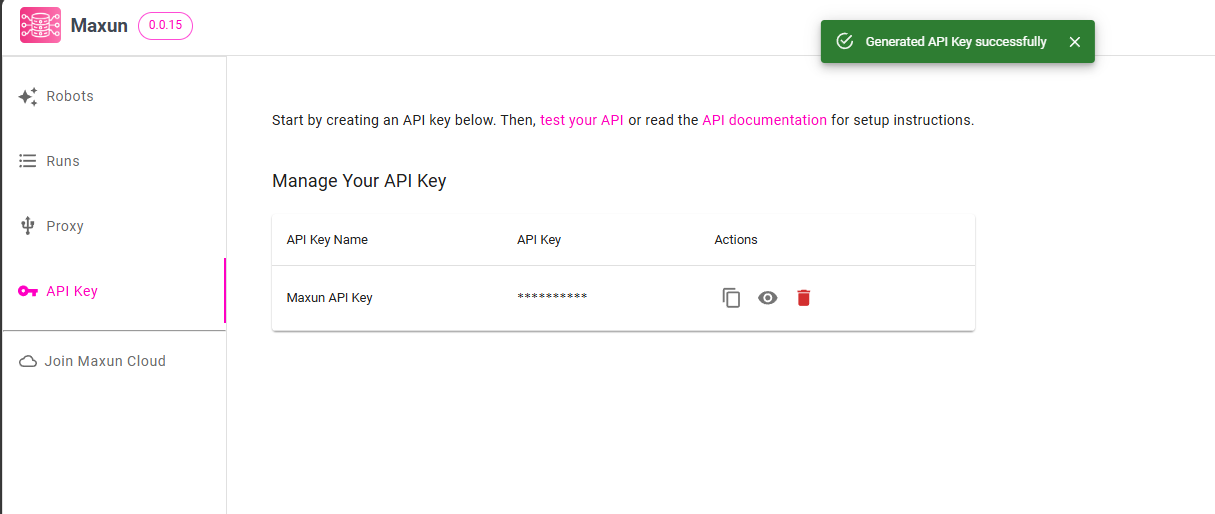
1. Generate your API Key
Go to your Maxun Dashboard and navigate to Settings → API Key to generate a key.
 |
|---|
| Generate API Key |
 |
|---|
| API Key Generated |
2. Configure your MCP client
Choose the configuration format that matches your client.
Native HTTP
{
  "mcpServers": {
    "maxun": {
      "url": "https://app.maxun.dev/api/mcp",
      "headers": {
        "x-api-key": "your_api_key_here"
      }
    }
  }
}
Via mcp-remote (stdio bridge)
If your client does not support the url + headers format natively, use mcp-remote as a stdio-to-HTTP bridge — no separate install needed, npx handles it automatically.
{
  "mcpServers": {
    "maxun": {
      "command": "npx",
      "args": [
        "-y",
        "mcp-remote",
        "https://app.maxun.dev/api/mcp",
        "--header",
        "x-api-key:your_api_key_here"
      ]
    }
  }
}
Most clients store this config as a JSON file. For example, in Claude Desktop it is at:
- macOS:
~/Library/Application Support/Claude/claude_desktop_config.json - Windows:
%APPDATA%\Claude\claude_desktop_config.json
Check your client's documentation for the exact config file location.
3. Restart your client
After saving the config, restart the application. On success you will see the Maxun tools available in the client.

Self-Hosted (OSS)
Use this if you are running the open-source Maxun instance locally or on your own server.
Prerequisites
- Maxun OSS running locally (default:
http://localhost:8080) - Node.js installed
1. Build the MCP worker
Run the following command from the root of your Maxun project:
npm run mcp:build
This generates dist/mcp-worker.js in your project root.
2. Generate your API Key
Generate the API Key from your self-hosted Maxun Dashboard under Settings → API Key.
3. Configure your MCP client
Add the following to your client's MCP server config. For example, in Claude Desktop go to File → Settings → Developer → Edit Config:
{
  "mcpServers": {
    "maxun": {
      "command": "node",
      "args": [
        "/path/to/your/project/dist/mcp-worker.js"
      ],
      "env": {
        "MCP_API_KEY": "your_api_key_here",
        "BACKEND_URL": "your_backend_url_here",
        "MCP_WORKER": "true"
      }
    }
  }
}
Replace /path/to/your/project with the absolute path to your Maxun project directory, and your_backend_url_here with your backend URL (e.g. http://localhost:8080).
After saving, restart your client. You'll see the Maxun tools available on successful configuration.